
South Hell School Locations: Key Rooms, Landmarks and Connections
Which South Hell school rooms hold keys, how the theater, red-lit maintenance room, gym and hallway fit together, and how the basement exit links them.
The South Hell school is easiest to read as one destination plus the rooms that feed it. Every key — from the 4TH GRADE classroom, the LOCKER ROOM, the area around the NURSE room and the COMPUTER LAB — is carried back to the glowing EXIT DOOR in the basement, which is fitted with four padlocks: blue, yellow, red and green. The landmarks that tell you where you are along the way are the red-lit maintenance room with its closable door, the locker-lined hallway, the theater and the gym. Corridors link these spaces, and the exit sits on the opposite side of the building from the theater.
Key rooms and what each one holds
- Area
- 4TH GRADE classroom
- Key you find
- Blue Key
- How to recognise it
- Room label as you enter; search the green lockers
- Area
- LOCKER ROOM
- Key you find
- Yellow Key
- How to recognise it
- Room label; the key is in a lower locker
- Area
- NURSE room / the area just outside it
- Key you find
- Third key
- How to recognise it
- Room label; the key was found just outside the room
- Area
- COMPUTER LAB
- Key you find
- Green Key
- How to recognise it
- Room label
- Area
- Corridor where you died
- Key you find
- Red Key
- How to recognise it
- If Cartman catches you while you carry a key, the key drops where you fell — return to that spot (in the captured run it appeared as A Red Key)
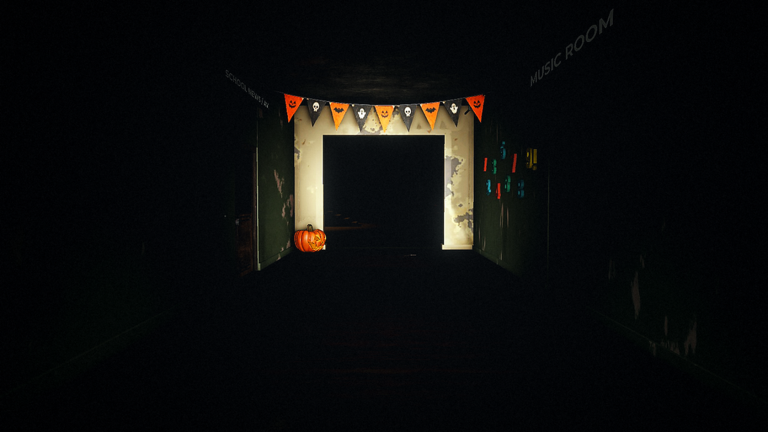
The basement exit is the fixed point
A run begins in the school basement with the doors locked and Cartman hunting you, and the exit door that ends the run is in that same basement. The first room you see is therefore also the room you keep coming back to, which makes it the one piece of the layout worth learning first.
At the start the exit is boarded up. Pressing E on the boards pulls them off — the counter reads "Pry the boards off 5/5" when the last one comes away, the game says "The way is open. I'll leave the crowbar here.", and the objective switches to "Find the keys 0/4". From that point the door stops being a way out and becomes your return point. Its four padlocks are blue, yellow, red and green, and each key you bring back matches one of them.
Key pickups push you straight back toward it. The on-screen text reads: "You got a KEY! Take it to the EXIT DOOR in the basement - it GLOWS. If Cartman gets you, you DROP it." At the door, E Unlock on the matching padlock raises the progress — for example "Unlock the exit door 1/4". The glow is a landmark in its own right, because the exit is the one place in the school whose role never changes mid-run.
There is a cost to the trip, though. If Cartman catches you while you are carrying a key, you drop it and respawn in the basement with the objective "Pick up the dropped key". The key stays where you fell, so your death spot temporarily becomes a location you have to remember and revisit. The colour-by-colour breakdown lives on the South Hell keys page, and the locked doors page follows the door itself; the basement guide covers the lower floor in more detail.
The four key rooms and how to know you are in one
The room name appears on your screen as you enter or search a space, and that label is the most reliable "you are here" signal in the school. The key-room lookup near the top of this page pairs each label with its key and its cue; what follows are the extra details that help once the label has told you where you are.
In the 4TH GRADE classroom, the green lockers you search for the Blue Key are the same kind of green lockers that double as hiding places elsewhere, so a locker can be a container or a cover depending on what you do with it. In the LOCKER ROOM the Yellow Key sits in a lower locker, so check the low rows rather than only the ones at eye level. The NURSE room's third key was found in the area just outside the room rather than deep inside it. The COMPUTER LAB is the last of the four named key rooms.
In the captured run, the key found just outside the NURSE room appeared as 'A Red Key' when it was picked up again from the corridor where the player had died: if Cartman catches you while you carry a key, it drops where you fell, so return to that spot to pick it up. That link between the death and respawn loop and the map matters — the place you are most likely to avoid thinking about is also a location you may need to walk back into deliberately.
Two orientation landmarks: the theater and the red-lit maintenance room
The clearest directional fact about the school is that the exit door is on the opposite side of the building from the theater. Use the theater as a bearing: if you are standing at it, the basement exit is across the building, and you are on the wrong side to finish a key run. When a corridor feels familiar but wrong, that single relationship is often enough to tell you which half of the school you are in.
The red-lit maintenance room is the other landmark worth memorising, because it is both easy to spot and usable. The red lighting identifies it, and it has a door you can close with E Close. With the door shut, Cartman cannot enter — a charging Cartman reached the closed door and stopped, and the player took no damage. Treat it as the place where you break a chase and reset your bearings before stepping back into the corridors.
Hallways, lockers, gym and corridors
The gym, the theater and the corridors are connective landmarks rather than key rooms: you pass through them on the way to somewhere that matters, and the corridors are what link the named spaces together. The exit is on the opposite side of the building from the theater, so if you are near the theater you are on the far side of the school from the exit. It is worth noting what each side of the building feels like rather than memorising turns.
Lockers along the hallway are worth opening for a second reason. Searching one can produce a trap: "You found a trap! Take it out (5), aim at the floor and click to place it." The trap occupies inventory slot 5 and is placed by aiming at the floor and clicking. It can be set on the hallway floor, for example just outside the red-lit maintenance room, which is a useful spot because that room is where you can close a door behind you.
Green lockers also hide you. Press E Hide at one to enter a "HIDING PLACE" and complete a shrinking-circle minigame to stay hidden; in the recorded run Cartman walked past without noticing. The opening tutorial describes the same action: hide in a locker and click the circles to stay hidden. There is one caution in the material, though. While a player was inside a locker, the prompt "Cartman can't come in here" was read out, but in a different co-op session a player who was caught said "Lockers don't work". Those are observations from separate sessions rather than a rule either way, so a locker is better treated as a useful hiding place than a guaranteed shield.
What the in-game prompts tell you about the school
The opening guidance reads like a list of objectives and hazards: search the lockers, find the keys and unlock the exit door; hide in a locker and click the circles to stay hidden; use your flashlight because the dark raises your insanity; don't shine your light on Ike; walking on glass is loud; lights out; fix the fuse box. It describes what the school will ask of you rather than a fixed tour of rooms, so it is best used to know what the game expects next, not as a route through the building.
Before the run: the lobby
The lobby is the last space you see before entering the school, and it is separate from the school layout itself. Before a run you pick a class and a difficulty; Medium and Hard came up in the material, and the run described here used Medium. The lobby also holds the mailbox the developer points to for bug reports and ideas, which is covered on the feedback mailbox page.
Once inside, the map you are actually carrying is a short list: the exit door in the basement, four key rooms that each produce one key, and the theater and red-lit maintenance room as your two bearings. Add the South Hell monster behaviour to that list and the layout stops being a maze of identical corridors — the room label tells you where you are, the theater tells you which side of the building the exit is not on, and the exit itself glows in the basement. If you want the same information as a continuous route, the South Hell walkthrough follows a run from the basement to the escape.
Related Guides
Keys: All 4 Key Locations
Find all four keys — blue, yellow, red and green — and see which colored lock each one opens on the exit door.
Feedback Mailbox Location
Find the lobby feedback mailbox and what the official notice asks you to report, from bugs to ideas.
Walkthrough: Escape from the Basement
Follow the complete escape route: pry the boards, collect four keys, unlock the exit door and survive the final chase.